It is a lot of fun to fly a drone, but I have to admit that those first few flights were scary. The DJI Mavic Pro is a complex gadget and it was hard to think about anything other than not crashing it. It took several flights before I felt comfortable with the controls, let alone using it for video and photography.
Looking back, there are a few things that I wish I had known from the start.
1. Be comfortable, be safe, be relaxed
When your drone is in the air, you want to be focused on flying, not on grabbing your towel before it blows away on the beach. Before you launch your drone, take a few minutes to make sure you are comfortable and safe. Doing so helps you focus on your flying and not having to worry about the little things around you.
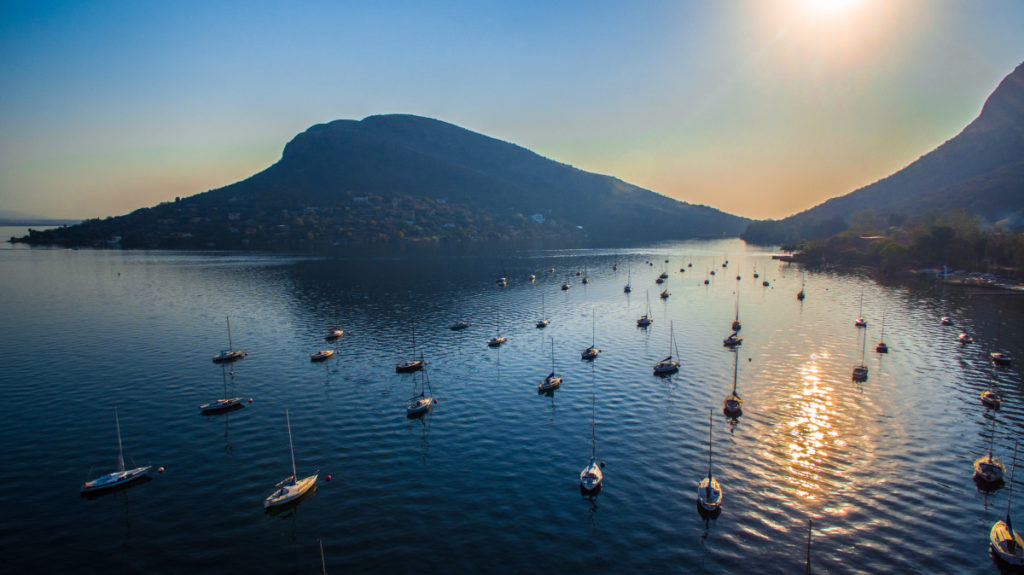
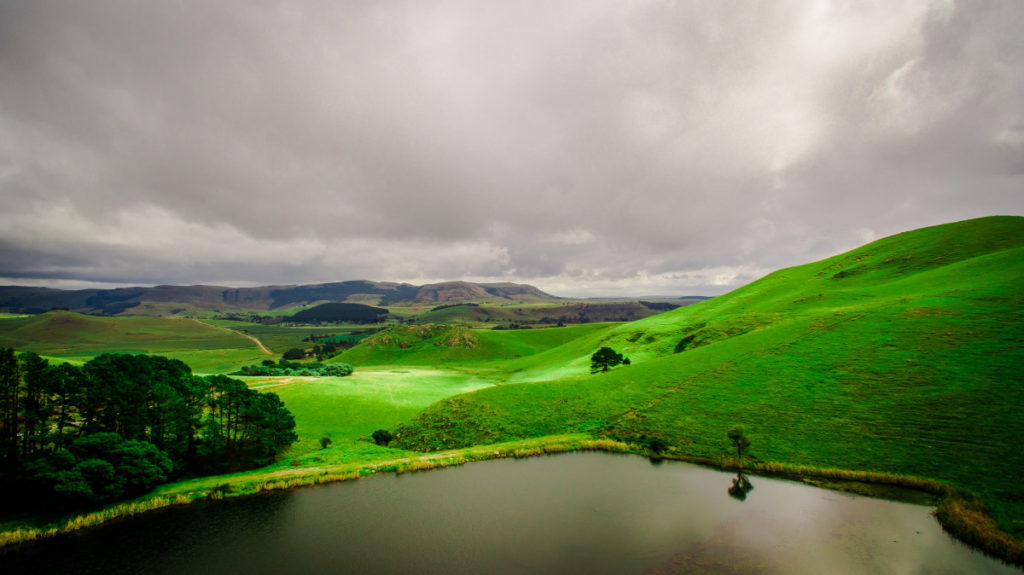
2. The magic-hour is golden
The magic-hour (also known as the golden-hour) is that magical time shortly before sunset and after sunrise. The light will be softer, colors enhanced and everything will just look a thousand times better than usual.
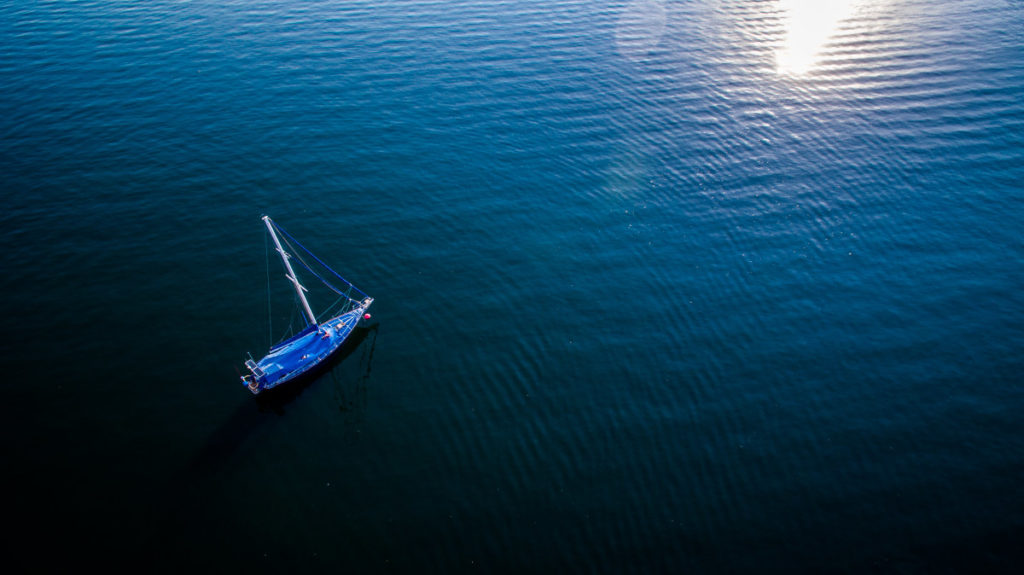
3. Use the grid on your display
If you have played around with the settings in the DJI Go app, you may have noticed an option to add a grid over the display. This doesn’t appear on your final photos, but it does help you compose your images using the rule of thirds. Take your photos using the grid to frame your image. Your subject or focus point should be on one of the the vertical grid lines or where the lines intersect. Your photos will look more balanced if you try this approach.
4. Use the DJI Care Refresh program for peace of mind
I mentioned earlier that crashing the drone was my biggest worry. Because of this, buying DJI Care Refresh was the best thing I could do to calm my nerves. With this program, DJI will replace broken parts, or the entire drone, if you crash it. They will even send you a replacement if it crashes into water. That’s what sold me on the program. I haven’t had to use it (knock on wood), but I do feel a lot more confident flying the Mavic Pro knowing that my expensive toy can be replaced.
5. Bracket your photos (AEB)
With so many things to worry about in the air and sun glare messing with your live preview, it can be very difficult to get the correct exposure level for your photos. Fortunately, there is an option for auto-exposure-bracketing. AEB takes multiple photos with varying exposures, which lets you then choose the one with the best exposure. Or you can combine all of them together into a single HDR photo.
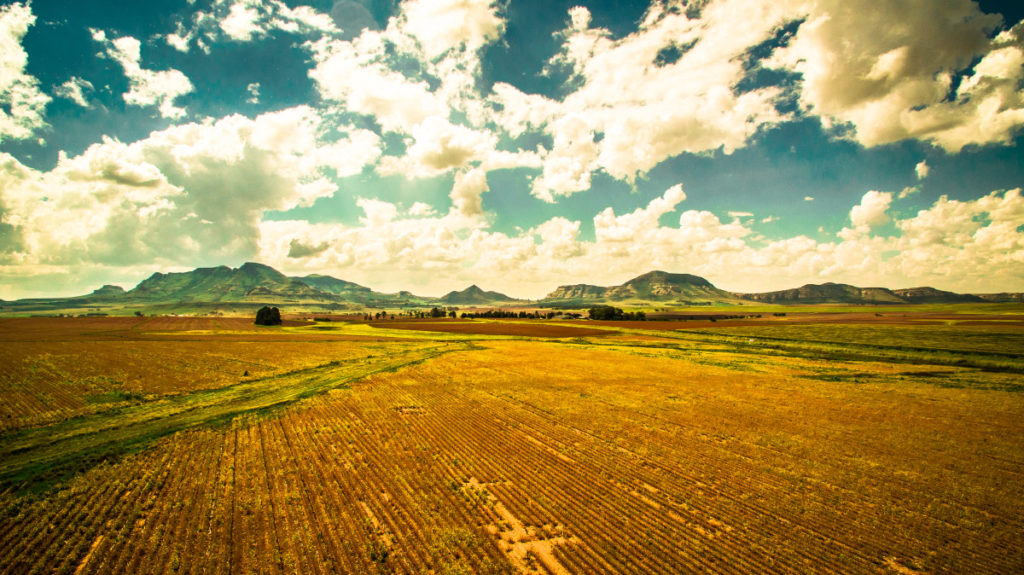
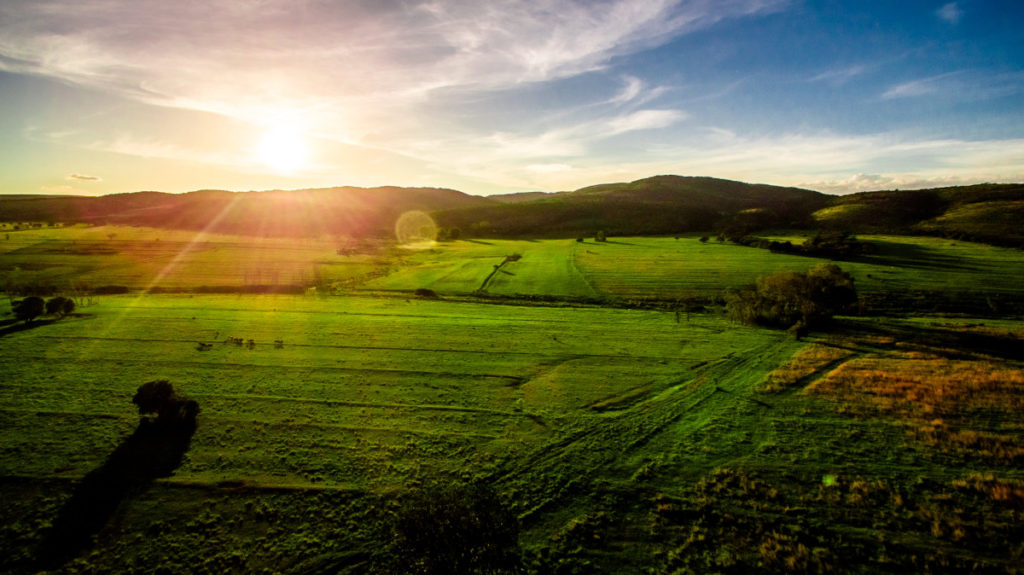
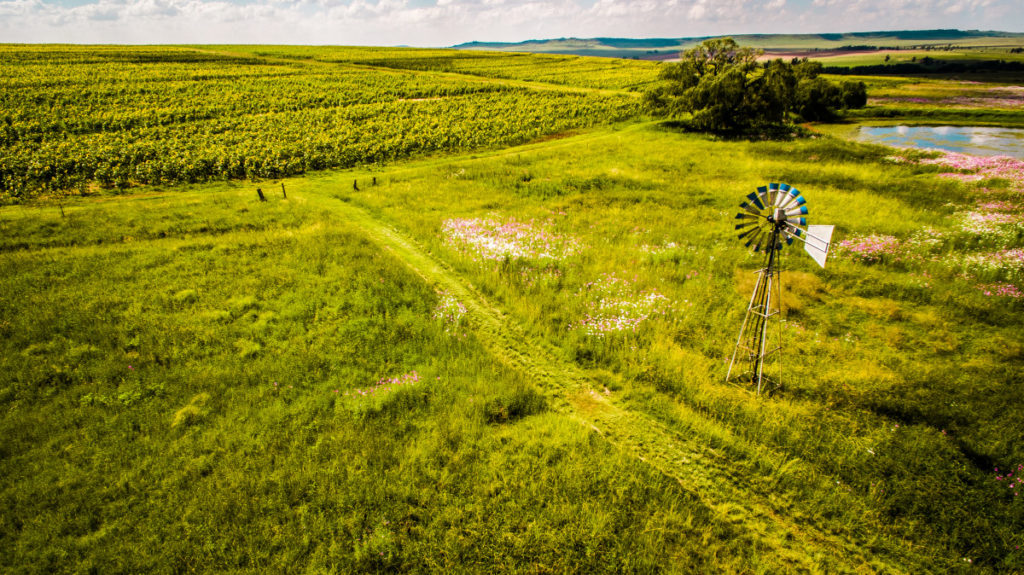
6. Neutral Density Filters (ND Filters)
This is an accessory that I wish had come in the Fly More Combo. It is that important. ND filters absorb light while preserving color. Basically, ND filters are sunglasses for your drone and necessary for reducing glare. You can see this in the first few seconds of my VW Atlas video. The bright sun overexposed the video of the field of poppies. I used ND filters when filming a second VW video and the result was a clear, balanced image.
There are many ND filters on the market, but I went with the DJI ND filter set. Some of the other brands are too heavy for the Mavic Pro’s gimbal and can interfere with the camera’s calibration. The DJI ND filters are light. They just clip on. And as a result, they work as intended without interfering with how the camera operates.
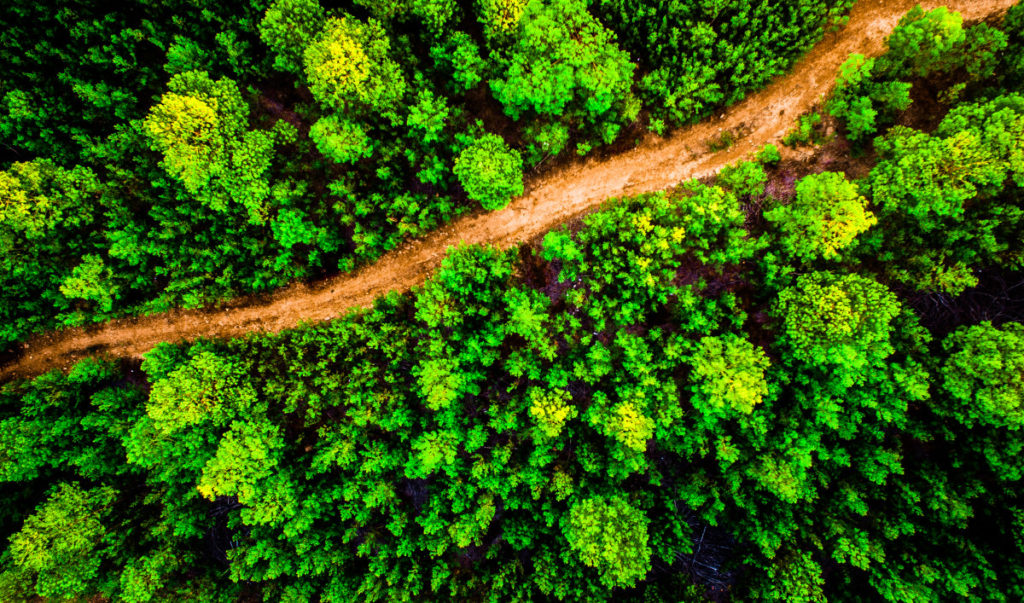
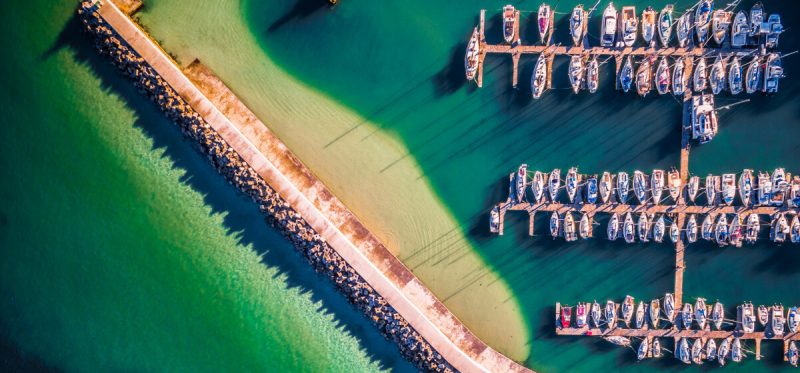
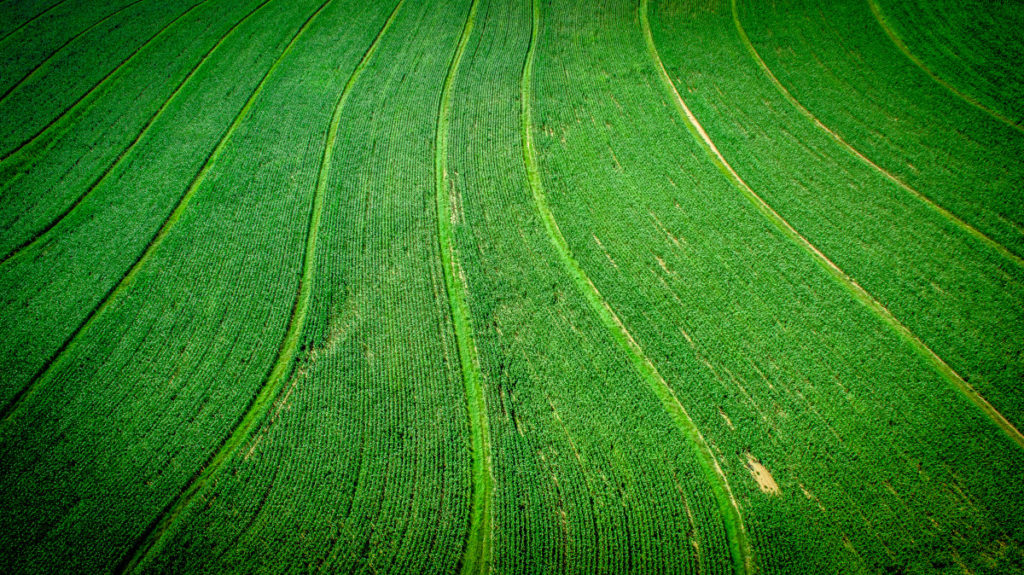
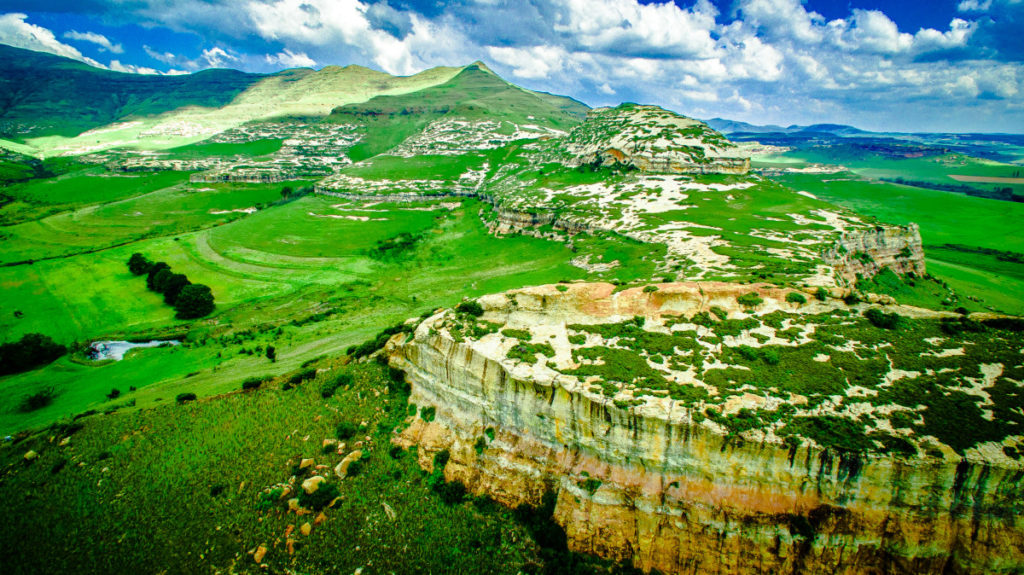
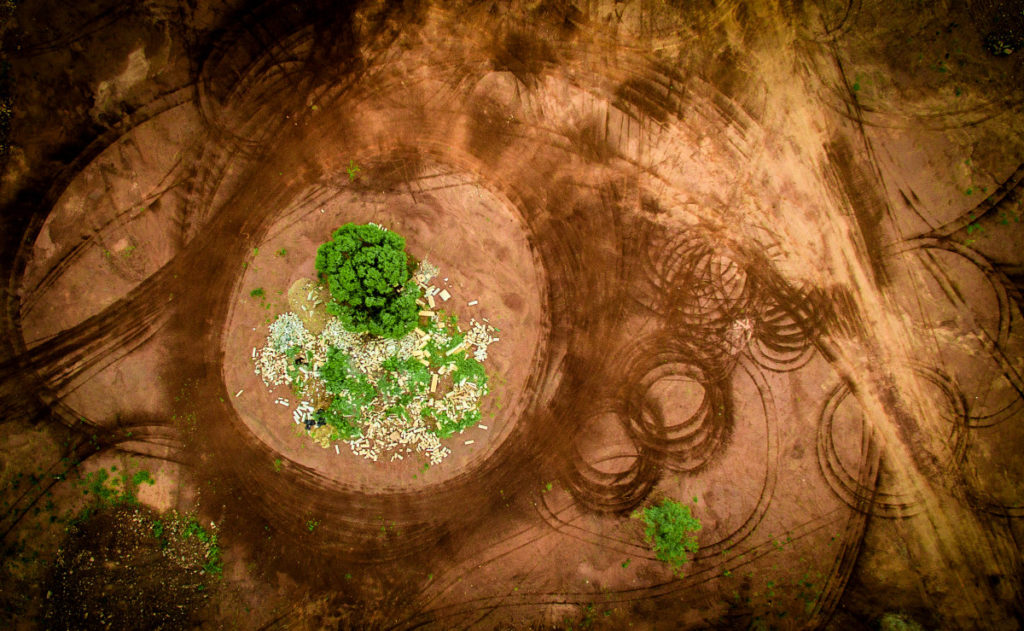
7. Don’t forget to look down
Horizon shots are amazing, and landscape views from high above seldom disappoint. But the next time you are flying around, aim your camera straight down. Sometimes you can capture an amazing photo because of the pattern of the trees, the rows of cars, or the stripes on a parking lot. Drones give the opportunity to see something in a way that we have never been able to see it before. Next time you try to capture something, try looking straight down, you will be surprised by the amazing sights and patterns you will find.
8. Get a photo editing tool
Ever noticed how your raw photos just don’t compare to what you see posted online? No, your camera is not faulty, the other guys cheated, which is okay, since you can too. To really make your photos stand out, invest in a post-production photo tool and follow the other tips mentioned here. Adobe Lightroom is a popular choice, but there are many other options out there.
Photo editing software is great, but all the options and sliders can be daunting. Rather than spending hours reading theory and manuals, I recommend you just start experimenting and having fun with the software’s options. Start from the top, select a slider or option, max it out, watch the effect it has on your photo, then bring it down to it’s minimum and observe the effect it has on your photo again. Put it where you feel it looks best for your photo and then repeat the process on the next option. Try this on all the sliders and you will be amazed by what is possible.
9. Turn on the Overexposure warning
The DJI Go app has an option that makes overexposed areas appear on your screen with black and white stripes. I used this feature to adjust the exposure settings (and to decide on which ND filter to use) so that I have a balanced image. I notice the overexposure warning most often against the sky, as that is usually the brightest part of the image. After you get the exposure settings dialed in, the black and white lines disappear and you are basically guaranteed to have a perfect image.
10. Explore your city
If all your photos start to look the same, it is probably a good idea to stop flying the same spot. Get your family or friends and go have an adventure. The new areas you visit might provide you with some much-needed variety in your portfolio. If you use a smaller drone like the DJI Spark or DJI Mavic Pro, it is easy to take them along for a hike without adding substantial weight to your backpack.
Purchase the DJI Mavic Pro
Photos via Instagram