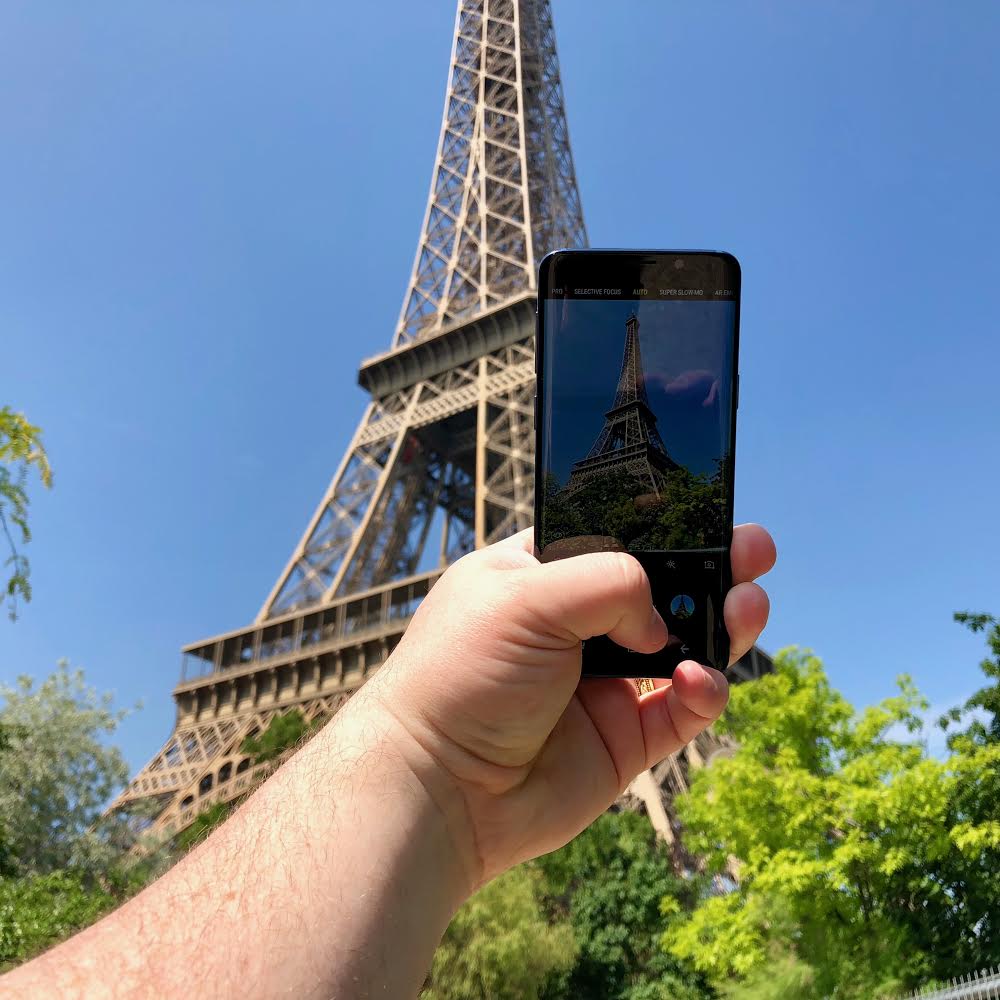
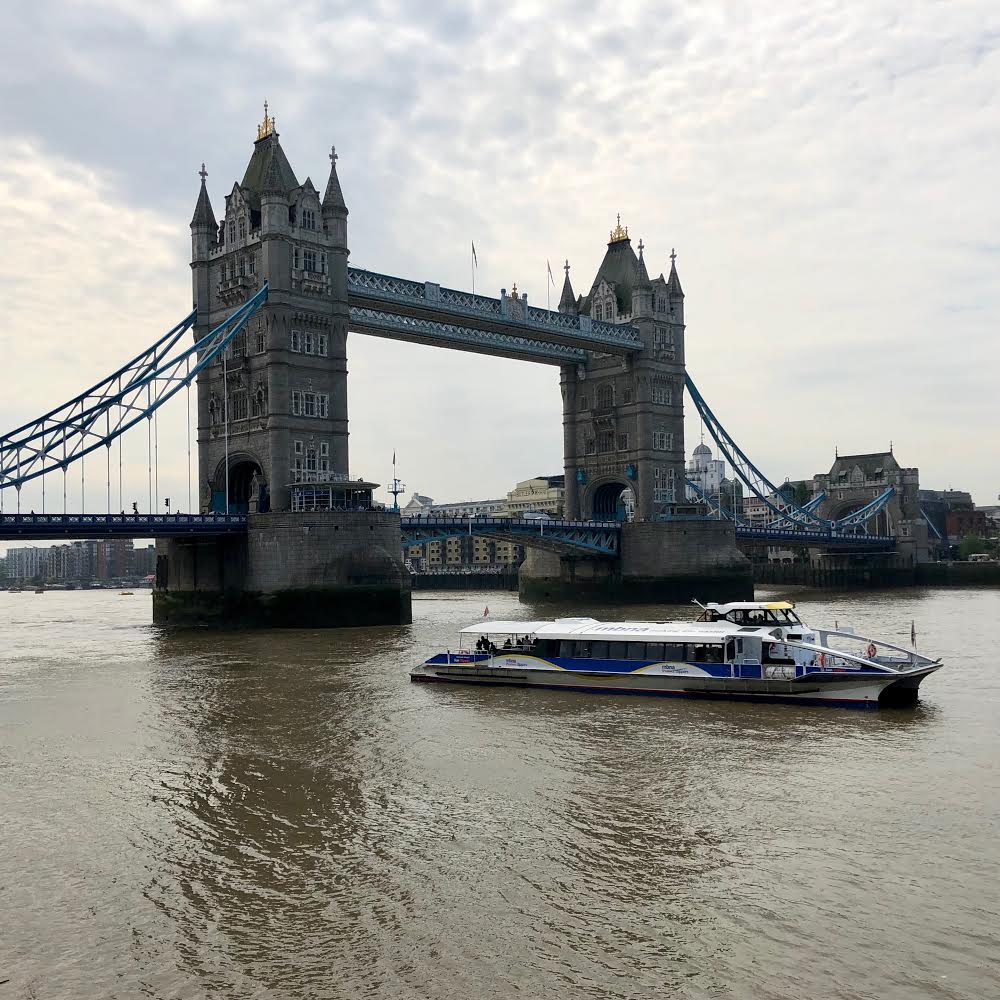
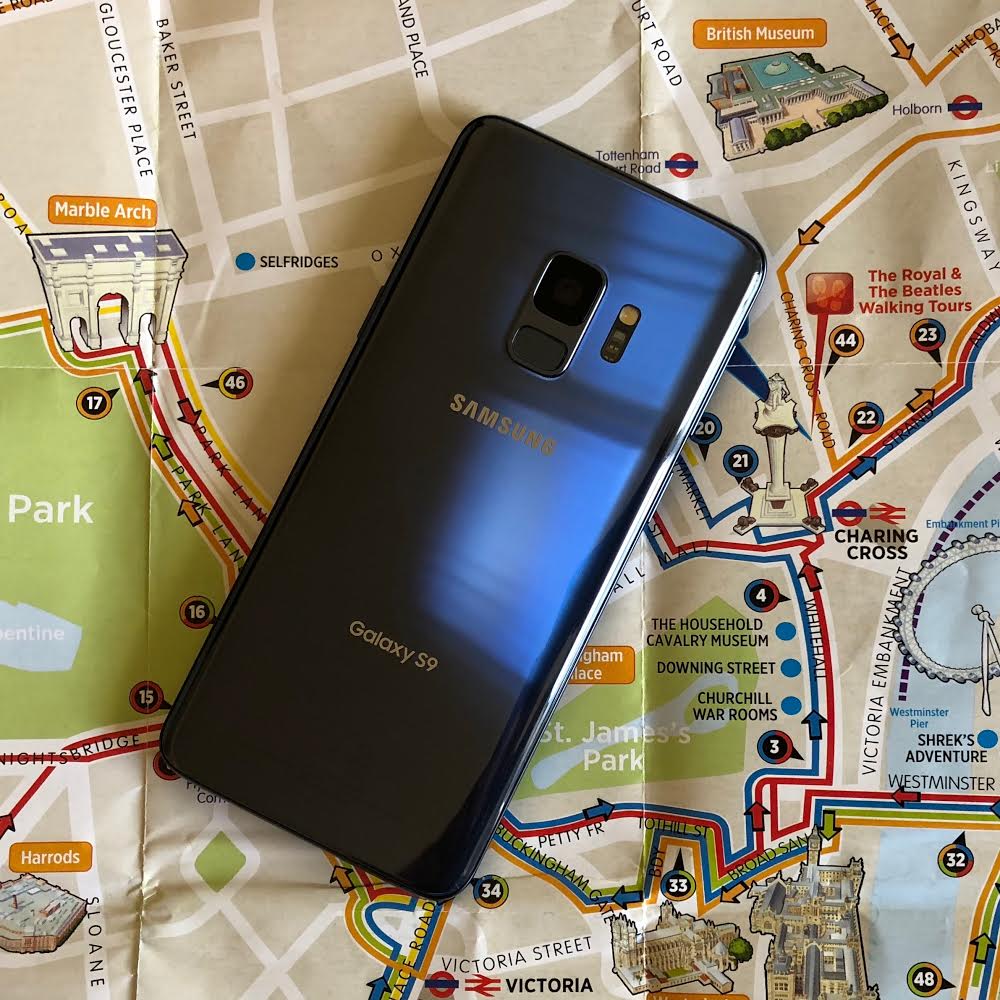
Imagine ending a call with “good morning and good night.” It feels strange, but it’s the reality of staying in touch during international travel. I found myself in this peculiar situation while in London and Paris for work, half a day ahead of my family in Seattle. Late-night calls became my routine to catch my family just as their school day ended, and I learned the hard way that daytime texts could inadvertently wake them up.
International travel used to be daunting due to the fear of exorbitant roaming charges. I remember my first trip abroad, where I cautiously kept my phone in airplane mode and only used Wi-Fi hotspots. But most US carriers have reasonable options for using your existing phone and plan while traveling internationally, and that’s a great thing when you need to use the Google Translate app just to navigate out of the airport upon arrival.
Making Travel Easy with the Right Apps
Cell phones have become indispensable for international travel. From navigating foreign cities using GPS, to booking reservations, contactless payments, or using a mobile wallet for museum tickets, it is nearly impossible to travel without access to your phone and the internet.
There are a few apps that I recommend for anyone going on an international trip. Google Maps, which provides reliable navigation and public transit information even offline is a must; Google Translate, indispensable for breaking language barriers with its real-time translation and camera feature; and TripIt, which organizes your travel itineraries in one place for easy access. For currency conversion, XE Currency offers up-to-date exchange rates, while WhatsApp is a great way to communicate with loved ones back home. Of course, you will want the app for whatever airline you are using so that you can track flight status and fill out international travel documents ahead of time.
No More Unlocking Hassles
Gone are the days when international travel meant either renting a local cell phone or buying a new SIM card and unlocking your phone. Newer versions of the iPhone, can connect across various network types without any hassle. I simply turned on my phone after landing, activated voice and data roaming in the settings, and was good to go.
How Much Will Roaming Data Cost Me?
I use an “unlimited” family plan on Verizon which includes international talk, data, and text while abroad. The international access works in 210+ countries, but it is important to read the fine print. In Mexico and Canada you only get 2 GB of high speed data and then your data effectively slows to a crawl after that. In other countries, you get a more reasonable10 GB of high speed data per day. I found that this was enough to get by on most days, provided that I connected to public WIFI networks whenever they were available. It may come as a surprise to US travelers that open WIFI is available is many parts of Europe.
But what if you don’t have an unlimited plan? Verizon’s Travel Pass is what I used before I had an unlimited plan. This allows you to use your domestic talk, text, and data allowances in over 210 countries for a flat daily rate: $5 per day in Mexico and Canada, and $10 per day elsewhere. This means no more worrying about per-minute, per-message, or per-megabyte charges.
What if I Need More Data?
It takes a few steps, but another option is to buy an eSIM for use on an international trip. An eSIM is an electronic version of the physical SIM cards that you used to buy after landing at your destination’s airport. But the great thing is that with an eSIM you can make the purchase online, and often times you can do it before even leaving on your trip.
1. Check Compatibility:
– Ensure your phone supports eSIM functionality. Most recent models from Apple, Google, and Samsung support eSIM.
2. Choose Your eSIM Provider:
– Research and select an eSIM provider that offers plans in your destination country. Popular eSIM providers include Airalo, GigSky, and Truphone.
3. Purchase Your eSIM Plan:
– Visit the provider’s website or app and choose a plan based on your data, call, and text needs.
– Complete the purchase and follow the provider’s instructions to receive your eSIM QR code.
4. Install the eSIM:
– On your phone, go to Settings.
– For iPhone: Navigate to “Cellular” or “Mobile Data,” then tap “Add Cellular Plan.”
– For Android: Go to “Network & Internet,” select “Mobile Network,” then “Add Carrier.”
– Scan the eSIM QR code provided by your eSIM provider. Follow the on-screen instructions to complete the installation.
5. Activate the eSIM:
– You can do all of the earlier steps before leaving on your trip. I recommend waiting until you arrive at your destination before taking the next step of activating the eSIM.
– You can activate your eSIM plan by going to the same settings menu and checking if the new plan is listed under your cellular or mobile data options.
– Toggle the eSIM plan to “On” and ensure it is set as the default line for cellular data usage, if applicable.
6. Configure Dual SIM Settings (If Applicable):
– This is a bit more advanced, but many phones will let you use more than one eSIM. This is an option if you want to use your existing US SIM for phone calls (so that you can send and receive phone calls using your US number) and then use a second eSIM for data (because you can often find great rates for truly unlimited high speed data using a local carrier). This option can usually be done under the “Cellular” or “Mobile Data” settings.
– You can designate one SIM for data while keeping your primary number for calls and texts.
7. Test Your Connection:
– Once the eSIM is installed and activated, test it by making a call, sending a text, and using mobile data to ensure everything is working correctly.
– Check your data connection and coverage to make sure it meets your expectations.
Additional Tips:
- Download Important Apps: Make sure you have essential travel apps downloaded before you switch to the eSIM to avoid data charges.
- Backup Your Data: Ensure all your important data is backed up in case you need to reset network settings.
- Take a photo of your Passport and other important documents so that you have a copy in case the physical version get lost during your trip.
- Carrying some local currency when you travel is important as well, especially for situations like purchasing a local SIM card. Local SIM cards often provide better rates for data, calls, and texts compared to international options, making them a cost-effective choice for travelers. However, many local vendors and small shops may only accept cash. Having the local currency can expedite the process, allowing you to quickly get connected without the hassle of searching for an ATM or currency exchange service.
- For example, if you’re traveling from the UK to the US, consider converting some GBP to USD before your trip. Additionally, local currency can be useful for other small purchases like public transport fares or snacks, which are often not card-friendly. Preparing with local currency can save you time and stress, ensuring you stay connected and enjoy a smoother travel experience.
Staying Connected Without the Stress
International travel should be exciting and enriching, not stressful because of connectivity concerns. With the right phone and travel plan, staying connected is simple and affordable. Jetlag might keep you up at night, but worrying about your cell phone bill won’t.


